Classic Fudgy Brownies — The Ultimate Chocolate Brownies Recipe
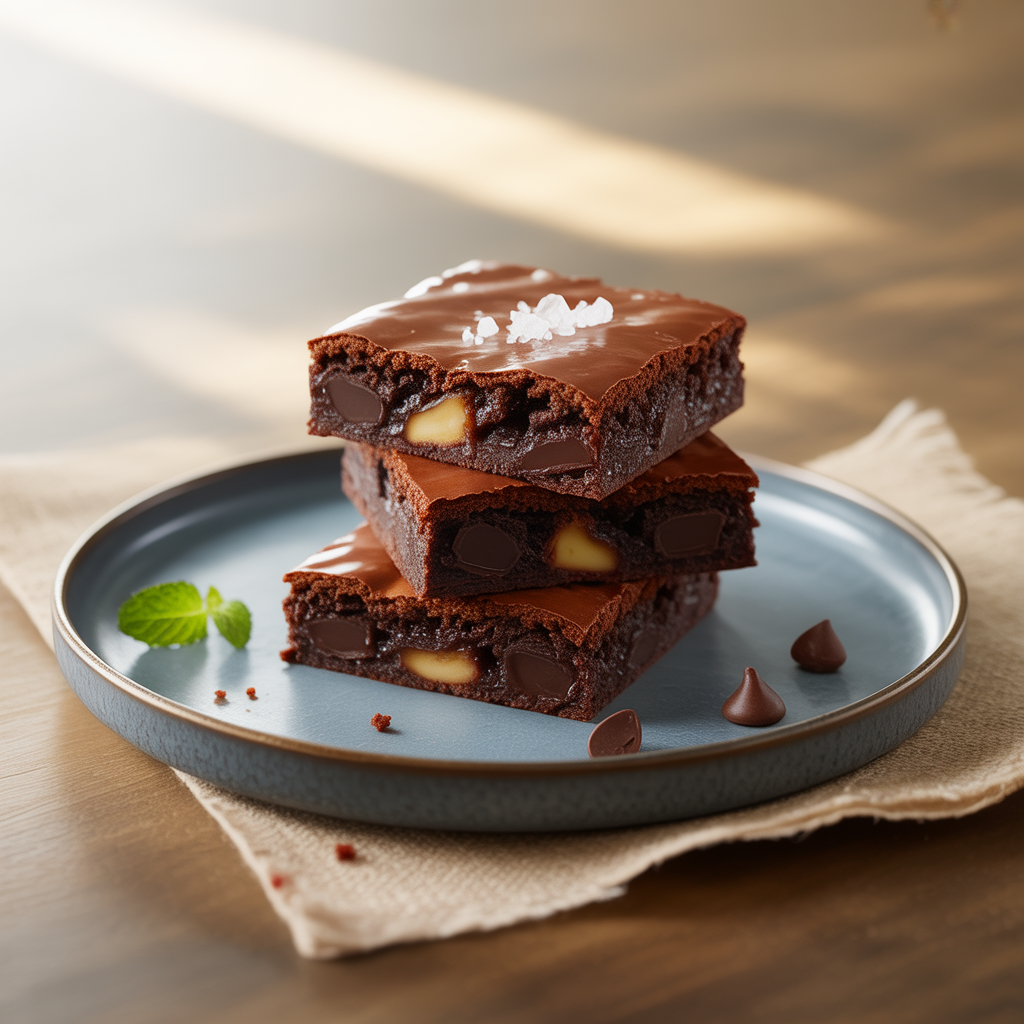
Indulge in deeply chocolatey, melt-in-your-mouth fudgy brownies that deliver a crackly top, glossy sheen, and a dense, gooey interior. This classic chocolate brownies recipe is crafted for reliably rich results every time — no fancy equipment required. Whether you’re baking for friends, a bake sale, or simply craving a decadent treat, these brownies are the blueprint for perfect texture and flavor.
Quick Facts
- Preparation time: 15 minutes
- Cooking time: 25 minutes
- Total time: 40 minutes
- Servings: 16 (2-inch squares)
- Cuisine: American
Ingredients
- 1 cup (225g) unsalted butter
- 8 oz (225g) good-quality dark chocolate (60–70% cocoa), chopped
- 1 1/2 cups (300g) granulated sugar
- 3/4 cup (150g) packed light brown sugar
- 4 large eggs, room temperature
- 2 teaspoons pure vanilla extract
- 1 cup (125g) all-purpose flour
- 1/2 cup (50g) unsweetened cocoa powder (sifted)
- 1/2 teaspoon fine sea salt
- 1/2 teaspoon instant espresso powder (optional — enhances chocolate flavor)
- 3/4 cup (120g) chocolate chips or chopped nuts (optional add-in)
Step-by-step Instructions
- Preheat the oven to 350°F (175°C). Line an 8×8-inch (20×20 cm) square baking pan with parchment paper, leaving a 1-inch overhang for easy removal. Lightly butter the paper.
- Melt the butter and chopped dark chocolate together: place both in a heatproof bowl set over a saucepan of barely simmering water (double boiler) or carefully melt in short bursts in the microwave, stirring every 20 seconds until smooth. Remove from heat and let cool for 3–4 minutes.
- Whisk in the granulated and brown sugars until glossy. The mixture should be slightly warm but not hot — this helps dissolve some sugar for that characteristic crackly top.
- Add the eggs one at a time, whisking vigorously after each addition to create a slightly ribboned batter; this traps air that contributes to the shiny crust. Stir in the vanilla extract.
- Sift together the flour, cocoa powder, and salt (and instant espresso if using). Fold the dry ingredients into the chocolate mixture gently with a spatula until just combined. Do not overmix — overworking creates cakier brownies instead of fudgy ones.
- Fold in chocolate chips or nuts if using. Scrape the batter into the prepared pan and smooth the top with a spatula.
- Bake for 22–28 minutes. The brownies are done when the edges are set and a toothpick inserted into the center comes out with moist crumbs (not completely clean). For extra gooey centers, aim for the lower end of the time range.
- Cool completely in the pan on a wire rack, about 1–1.5 hours, then lift out using the parchment overhang. For cleaner slices, chill 30 minutes before cutting with a sharp knife warmed under hot water and dried.
Chef Tips for Perfect Fudgy Brownies
- Use good-quality chocolate: a high-quality dark chocolate greatly improves depth of flavor compared to using cocoa only.
- Measure flour correctly: spoon flour into the measuring cup and level it off — too much flour makes brownies dry and cake-like.
- Don’t overbake: remove brownies when a toothpick shows moist crumbs to retain fudgy texture.
- Let them cool fully: brownies set as they cool, producing cleaner cuts and a better mouthfeel.
- For a shiny top: whisk eggs and sugar well to aerate slightly; this helps form the crackly crust.
Variations
- Salted Caramel Swirl: Dollop softened caramel on top before baking and swirl with a knife.
- Peanut Butter Brownies: Swirl peanut butter into the batter for rich nutty notes.
- Nutella Brownies: Fold in 1/3 cup Nutella for an extra-layered chocolate-hazelnut flavor.
- Gluten-free: Substitute a 1:1 gluten-free flour blend for all-purpose flour.
- Vegan option: Use vegan butter, replace 4 eggs with a flax egg mix (4 tbsp ground flax + 12 tbsp water), and use vegan dark chocolate. Texture will be fudgy but slightly different.
Storage and Reheating
- Room temperature: Store cooled brownies in an airtight container for up to 3 days.
- Refrigerator: Keep airtight for up to 7 days; allow to come to room temperature or warm slightly before serving.
- Freezer: Wrap individual squares tightly in plastic wrap and store in a freezer bag for up to 3 months. Thaw overnight in the fridge or at room temperature.
- Reheating: Warm a slice in the microwave for 10–15 seconds for a gooey center, or reheat in a 300°F (150°C) oven for 5–8 minutes until just warm.
Nutritional Information (approx. per serving — 1 of 16)
- Calories: 240 kcal
- Total Fat: 14 g (Saturated Fat: 8 g)
- Carbohydrates: 28 g (Sugars: 20 g)
- Protein: 3 g
- Fiber: 2 g
- Sodium: 95 mg
- Note: Nutrition varies by ingredients and portion size; this is an estimate for guidance only.
Frequently Asked Questions
How do I make brownies extra fudgy?
Use a higher chocolate-to-flour ratio, include some melted butter and dark chocolate, and avoid overbaking. Removing from the oven when a toothpick shows moist crumbs keeps the center dense and fudgy.
Can I make this recipe with only cocoa powder?
Yes — you can substitute some or all of the melted chocolate with extra cocoa and butter, but the flavor and texture will differ. For best fudginess, use a mix of melted chocolate and cocoa powder.
How can I tell when brownies are done?
Look for set edges and a glossy, crackly top. Insert a toothpick; it should come out with moist crumbs, not wet batter or completely clean. Timings vary by oven and pan — check a few minutes before the shortest time.
Can I double the recipe?
Yes. Bake in a 9×13-inch pan and adjust baking time (typically 30–35 minutes). Test with a toothpick for moist crumbs to retain fudginess.
Conclusion
These classic fudgy brownies strike the ideal balance between deep chocolate flavor, glossy top, and a luscious interior. This chocolate brownies recipe is versatile, forgiving, and perfect for both beginner and experienced bakers. Try the variations, store extras for quick treats, and share — brownies are always better with friends.
If you loved this recipe, download a printable version and share your results or a photo on social media — tag #FudgyBrownieLove and leave a review below to let me know how they turned out!